Welcome to Bytes Vibe. In this tutorial , we will learn how we can add automatic table of contents in blogger posts or articles.

If we insert an automatic table of contents in website, it will help our users to read our blog posts more easily. By adding Table of Contents in Blogger, users can jump to the section or the headings they want to go.
Why add Table of Contents in Blogger?
Table of Contents is a User-Friendly Navigation Tool. A Table of Contents (TOC) on a Blogger website is an important SEO tool for any blogger owner that can help all users with a detailed overview of blog post. It presents all headings and subheadings (h1, h2, h3, h4) in a clear format.
These headings and subheadings are displayed as clickable links amd if any user click on those heading than they can directly go to that heading section. When a user visits a post from Google’s search results than the TOC helps them understand the post’s content at a glance. For users who have limited time, it offers a good way to directly navigate to their desired topic.
For long-form content, like Wikipedia articles, adding a Table of Contents to Blogger posts is highly recommended.
How to add automatic table of contents in blogger pages?
If we want to know – how to add a Table of Contents in Blogger than be sure to read this article to the end. This article will be very useful. We already know that there are many plugins available for adding a Table Of Contents in WordPress. However, when it comes to Blogger than the most effective way to add a Table Of Contents is by working with HTML and Css.
The automatic table of contents that Bytes Vibe will share today will have automatic functionality. That means we just need to write our blog posts and the codes will automatically fetch the headings in our blog posts and show them as table of contents. This automatic table of contents will also have the functionality to minimise and expand on click.
To create automatic table of contents in blogger website follow these steps below:
Step 1: Add JavaScript
The first step for adding auto table of contents in blogger posts is adding JavaScript that will automatically get all the headings of blogger posts. To do that –

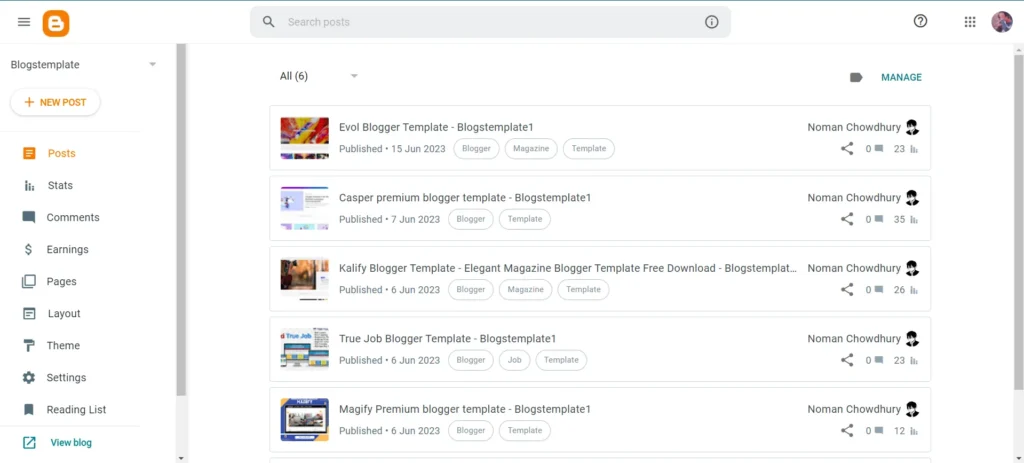
- Log in to Blogger Dashboard. Go to themes. Click drop down button and select Edit Html.
- Now in blogger theme search for
</body>. And paste the codes below above </body>.
<script>
//<![CDATA[
// var contentContainer = document.querySelectorAll(".post-body")[0].id = "toc-container";
var contentContainer = document.querySelectorAll(".post-body")[0];
const dataTracking = contentContainer.setAttribute("data-tracking-container", "true");
var headings = contentContainer.querySelectorAll("h1,h2,h3,h4,h5,h6");
var showtoc = contentContainer.querySelectorAll(".post-body h1,.post-body h2,.post-body h3,.post-body h4,.post-body h5,.post-body h6");
if (headings.length > 3) {
for (i = 0; i <= showtoc.length - 1; i++) {
var tocauto = showtoc[i];
tocauto.insertAdjacentHTML('beforebegin','<div class="toc-auto bytesvibe"><input id="toc-sh" type="checkbox"><label class="toc-title" for="toc-sh">Table of Contents</label><div class="toc" id="toc"></div></div>');
tocatr = document.querySelectorAll(".toc-auto")[0];
tocatr.setAttribute('data-tracking-container', 'true');
var toptoc = document.querySelectorAll(".toc-auto");
[].filter.call(toptoc, function(tocselection) {
return ![].some.call(tocselection.attributes, function(attr) {
return /^data-tracking-container/i.test(attr.name);
});
}).forEach(function(tocselection) {
tocselection.parentNode.removeChild(tocselection);
});};}
class TableOfContents {
constructor({ from, to }) {
this.fromElement = from;
this.toElement = to;
// Get all the ordered headings.
this.headingElements = this.fromElement.querySelectorAll("h1, h2, h3, h4, h5, h6");
this.tocElement = document.createElement("div");
}
getMostImportantHeadingLevel() {
let mostImportantHeadingLevel = 6;
for (let i = 0; i < this.headingElements.length; i++) {
let headingLevel = TableOfContents.getHeadingLevel(this.headingElements[i]);
mostImportantHeadingLevel = (headingLevel < mostImportantHeadingLevel) ?
headingLevel : mostImportantHeadingLevel;
}
return mostImportantHeadingLevel;
}
static generateId(headingElement) {
return headingElement.textContent.toLowerCase().replace(/ /g,"_").replace(/\//g,"_").replace(/</g,"").replace(/>/g,"").replace(/&/g,"").replace(/&nbsp;/g,"").replace(/ /g,"").replace(/\xA0/g,"").replace(/[\n\r\f]+/g, "").replace(/[.,\#!$%\^&\*;:{}=\-@`~()<>?"'“+”]/g,"");
}
static getHeadingLevel(headingElement) {
switch (headingElement.tagName.toLowerCase()) {
case "h1": return 1;
case "h2": return 2;
case "h3": return 3;
case "h4": return 4;
case "h5": return 5;
case "h6": return 6;
default: return 1;
}
}
generateToc() {
let currentLevel = this.getMostImportantHeadingLevel() - 1,
currentElement = this.tocElement;
for (let i = 0; i < this.headingElements.length; i++) {
let headingElement = this.headingElements[i],
headingLevel = TableOfContents.getHeadingLevel(headingElement),
headingLevelDifference = headingLevel - currentLevel,
linkElement = document.createElement("a");
if (!headingElement.id) {
headingElement.id = TableOfContents.generateId(headingElement);
}
linkElement.href = `#${headingElement.id}`;
linkElement.textContent = headingElement.textContent;
if (headingLevelDifference > 0) {
for (let j = 0; j < headingLevelDifference; j++) {
let listElement = document.createElement("ul"),
listItemElement = document.createElement("li");
listElement.appendChild(listItemElement);
currentElement.appendChild(listElement);
currentElement = listItemElement;
}
currentElement.appendChild(linkElement);
} else {
for (let j = 0; j < -headingLevelDifference; j++) {
currentElement = currentElement.parentNode.parentNode;
}
let listItemElement = document.createElement("li");
listItemElement.appendChild(linkElement);
currentElement.parentNode.appendChild(listItemElement);
currentElement = listItemElement;
}
currentLevel = headingLevel;
}
this.toElement.appendChild(this.tocElement.firstChild);
}
}
document.addEventListener("DOMContentLoaded", () =>
new TableOfContents({
from: document.querySelector(".post-body"),
to: document.querySelector(".toc")
}).generateToc()
);
//]]>
</script>Code language: HTML, XML (xml)Now save the blogger theme changes for automatic TOC.
Step 2: Add CSS for Automatic TOC
Now that we have adding JavaScript for table of contents in blogger, we need to add css to make this automatic table of content more beautiful.
- Again go to Edit Html and search for
]]></b:skin>. - Just above ]]></b:skin>, we need to paste the codes that Bytes Vibe gave below:
html {
  scroll-behavior: smooth;
}
/* TOC style bytesvibe.com */
.toc-auto.bytesvibe {
    display: table;
    position: relative;
    border-radius: 3px;
    background-color: var(--widget-bg,#f6f9fc);
    padding: 1rem 1rem.85rem;
    margin: 0 0 1.5rem;
}
.toc-auto.bytesvibe a {
  transition: .3s ease-in;
  text-decoration:none;
}
.toc-auto.bytesvibe a:hover, .toc-auto.bytesvibe .current {
    text-decoration: underline !important;
    color: var(--a-hover,#fe8f04);
}
.toc-auto.bytesvibe input[type="checkbox"] {
    display: none;
}
.toc-title {
    font-weight: 700 !important;
    margin-top: 5px;
}
.toc-title:after {
    content: '-';
    background-color: var(--text-secondary,#a6e6e5);
    border-radius: 3px;
    clear: both;
    float: right;
    margin-left: 1rem;
    cursor: pointer;
    font-weight: 400 !important;
    display: flex;
    justify-content: center;
    align-items: center;
    width: 25px;
    height: 25px;
    transition: .3s ease-in;
}
.toc-title:after:hover {
    background-color: var(--main-color,#028271);
    color: #fff;
}
.toc-auto.bytesvibe .toc {
    max-height: 100%;
    max-width: 500px;
    opacity: 1;
    overflow: hidden;
    transition: max-height .1s ease,max-width 0s ease,margin-top .3s linear,opacity .3s linear,visibility .3s linear;
    visibility: visible;
}
.toc-auto.bytesvibe ul li,ol li {
    margin-bottom: 0 !important;
}
#toc-sh:checked~.toc-title:after {
    content: '+';
}
#toc-sh:checked ~ .toc {
    margin-top: 0;
    max-height: 0;
    max-width: 0;
    opacity: 0;
    transition: max-height 0s ease,max-width 0s ease,margin-top .3s linear,opacity .3s linear,visibility .3s linear;
    visibility: hidden;
}
Code language: CSS (css)
Now again save all the changes.
This is how we can add automatic table of contents in blogger. This is a easy process that does not require any code knowledge. In this way we can make our blogger site more beautiful and stylish. This automatic table of contents have modern style vibe.
Customizing Automatic Table of Contents Settings:
Now if you want than you can customise this automatic table of contents further to match your style. But this will automatically change colours and text based on your blogger theme. Here are some customisation that you can do in css and JavaScript of table of contents for blogger posts:
- This automatic table of contents for blogger would not work if there aren’t 3 headings. So make sure blog posts or page have 3 headings.
- If we want to display the TOC for a specific number of headings than we need to replace the number 3 in the code with any number we want –
if (headings.length > 3). - This heading will show every available headings we have in blog posts like
<h1>, <h2>, <h3>, <h4>, <h5>, or <h6>.
Research shows that a significant majority of web readers (over 79%) focus mainly on important information. By understanding this users behavior, we can see the importance of a well structured Table of Contents (TOC) and WhatsApp chat button.
In this article, we learned how to add automatic table of contents in blogger website. Hoped this article helped you guys. If you guys face any problems than comment them down and I will help with my best.


