What Is a Progress Bar?
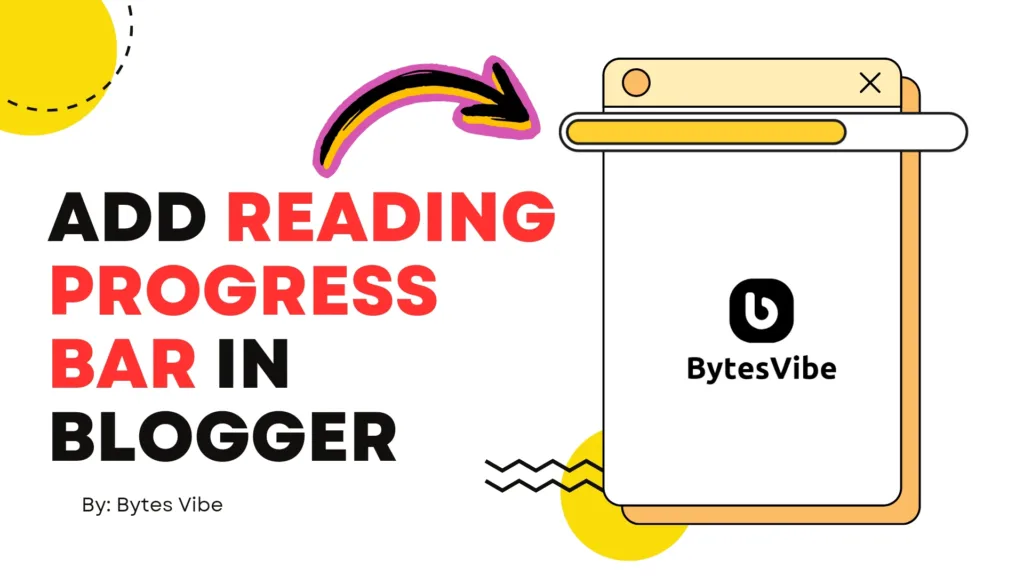
A progress bar is a horizontal line that typically appears at the top of a webpage. It shows how far a user has scrolled. Today Bytes Vibe will guide you on how to add a progress bar in Blogger blog. As the reader moves down the page, the bar fills up and show the percentage of content they have viewed. This feature is commonly seen on news websites, long-form articles, and blogs that want to keep readers engaged.
Benefits of adding a Reading Progress Bar in blogger
Before diving into how do I add a scroll bar in Blogger, let’s explore why adding a progress bar is beneficial for blogger website:
- Improved User Experience: A progress bar offers visual feedback to readers, making their journey through your content more engaging.
- Increased Engagement: By showing readers how much of the content they’ve consumed, you encourage them to finish the post.
- Enhanced Mobile Experience: Progress bars are particularly useful on mobile devices, where screen sizes are smaller.
- Professional Appearance: A well-implemented progress bar can change the overall look and feel of blogger website.
How to Add a Progress Bar in Blogger site
Before adding a scrolling bar in blogger make sure to take backup blogger theme. To add a reading progress bar in blogger follow the below steps:
Step 1: Access the Blogger Dashboard
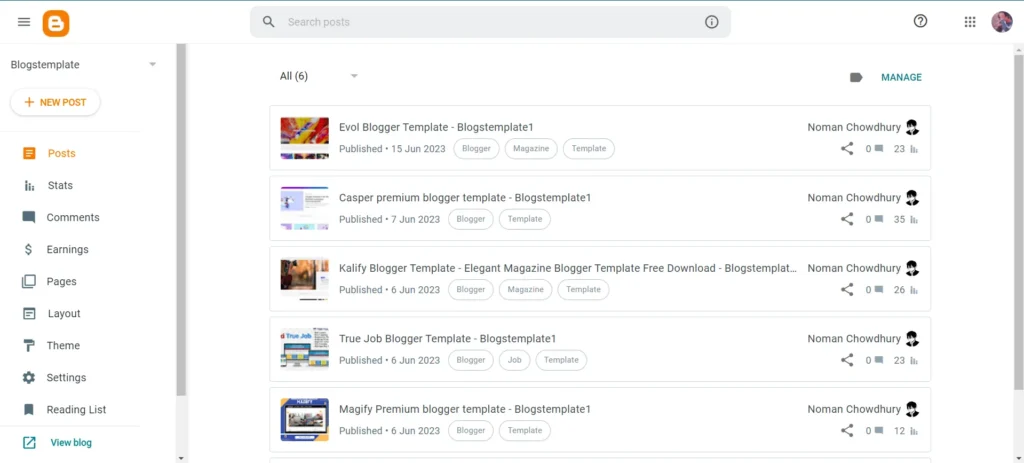
First, log in to Blogger account. Once you’re in the Blogger dashboard, click on the “Theme” option in the left-hand menu. Next, click on the “Edit HTML” option under the “Theme” section.
Step 2: Add the Progress Bar CSS
To create the progress bar, you’ll first need to add some CSS code to blogger theme. Search for ]]></b:skin> tag. Just above this tag, paste the following CSS code:
/* Progress Bar bytesvibe.com */
.km-progress-bar{background-color:#009ee0;position:fixed;top:0;left:0;z-index:999;width:0%;height:4px;}Code language: CSS (css)
You can modify the marked part like changing colours or changing height of the progress bar.
Step 3: Add the Progress Bar HTML
Now, search for </body> tag. Just above this tag, paste the following code:
<div class="km-progress-bar" id="km-progressbar"></div>
<script>
//<![CDATA[
window.addEventListener("scroll",myFunction);function myFunction(){var winScroll=document.body.scrollTop||document.documentElement.scrollTop;var height=document.documentElement.scrollHeight-document.documentElement.clientHeight;var scrolled=(winScroll/height)*100;document.getElementById("km-progressbar").style.width=scrolled+"%"}
//]]>
</script>Code language: HTML, XML (xml)
Step 4: Save and Preview Your Changes
After adding the CSS, HTML, and JavaScript, save your changes by clicking the “Save” button in the HTML editor. Once saved, preview your blog to see the progress bar in action.
Adding a progress bar to Blogger site is a simple yet effective way to enhance user experience and keep readers engaged. By following the Bytes Vibe steps outlined in this guide, you can easily implement this feature and customize it to suit your blog’s design.
Remember to test the progress bar on different devices and screen sizes to ensure it works smoothly for all your visitors. Happy blogging!

