Hello everyone! Welcome to Bytes Vibe. In our previous post, we learned how to create a blogger website. In this post, I will teach you guys on How to add custom domain in Blogger. Switching from a Blogspot subdomain to a custom domain is a significant step for any blogger. Not only does it enhance your blog’s professionalism, but it also improves your brand’s credibility and search engine ranking.
Why Choose a Custom Domain?
Before we learn how to setup custom domain blogger, let’s quickly discuss why a custom domain is crucial:
- Professionalism: A custom domain makes your blog look more professional. Instead of having a URL like
yourblog.blogspot.com, you can havewww.yourblog.com. - SEO Benefits: Custom domains are favored by search engines, potentially boosting your search engine rankings.
- Memorability: A custom domain is easier for your audience to remember and share.
How to setup custom domain in blogger?
So if you want to add a custom domain in your blogger website than follow these steps below:
Table of Contents
Step 1: Choose and Purchase Your Custom Domain
Your first task is to choose and purchase a custom domain. Popular domain registrars include:
When selecting a domain name, consider these tips:
- Keep it short and memorable.
- Avoid using numbers and hyphens.
- Choose a domain extension that fits your blog’s purpose, such as
.com,.net, or.blog.
Step 2: Access Your Blogger Settings
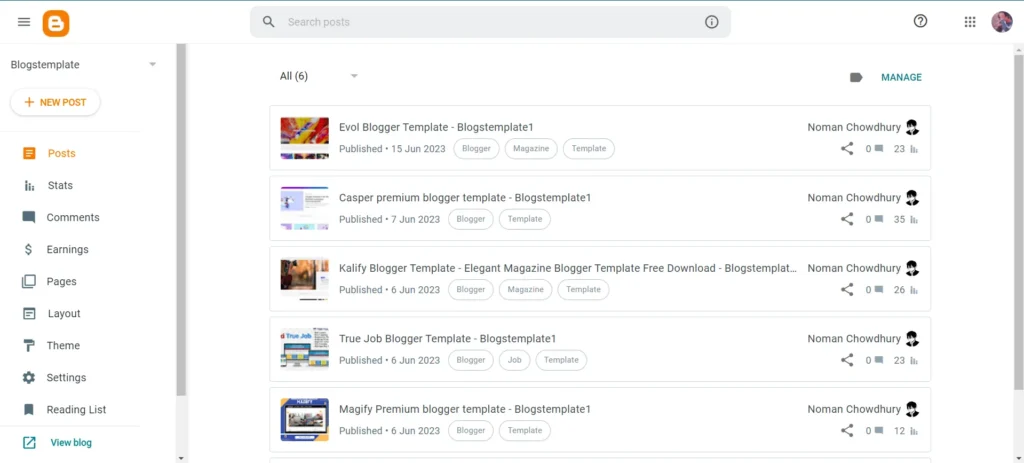
- Log in to your Blogger account and navigate to your blog’s dashboard.
- Go to Settings from the left-hand menu.
- Scroll down to the Publishing section, where you’ll see your current Blogspot URL.
Step 3: Set Up the Custom Domain in Blogger
- Click on Custom Domain.
- Enter your custom domain name, including the
wwwprefix (e.g.,www.yourblog.com). - Click Save. Blogger will now show an error message and provide you with two Blogger CNAME record. These CNAMEs are necessary for connecting your domain with blogger. The error message will look like this –
We have not been able to verify your authority to this domain. On your domain registrar's website, locate your Domain Name System (DNS) settings and enter the following <strong>two CNAMEs:</strong> (Name: <span style="color: var(--theme-palette-color-1, #ff6310);" class="stk-highlight">www</span>, Destination: <span style="color: #e3162b;" class="stk-highlight">ghs.google.com</span>) and (Name: <span style="color: var(--theme-palette-color-1, #ff6310);" class="stk-highlight">4ci6zcebdpvi</span>, Destination: <span style="color: #ee0b0b;" class="stk-highlight">gv-4yozew3cttzgb7.dv.googlehosted.com</span>). See https://support.google.com/blogger/answer/1233387 for detailed instructions. <a href="https://support.google.com/blogger/answer/1233387?visit_id=638586471526255252-4216317107&p=customdomain&hl=en-GB&rd=2"><span style="color: #00d084;" class="stk-highlight">Support page link</span></a>Code language: HTML, XML (xml)Here, Marked in Orange are Name/Host and Marked in Red are Value/Target.
Step 4: Configure DNS Settings at Your Domain Registrar
Next, you need to configure your domain’s DNS settings. This is a very important step in blogger domain setup. This process varies slightly depending on your domain registrar, but the general steps are as follows:
- Log in to your domain registrar account.
- Find the DNS settings or DNS management area. This might be under something like Domain Management or DNS Configuration.
- Add the two CNAME records provided by Blogger:
- Name/Host:
www, Value/Target:ghs.google.com - Name/Host: The specific CNAME provided by Blogger (something like
4ci6zcebdpvi), Value/Target: The unique target provided by Blogger (something likegv-4yozew3cttzgb7.dv.googlehosted.com)
Additionally, set up A-records to ensure that your domain works without the www prefix. If you see that your Blogger custom domain not working without www than add the following A-records:
| Host | Points to / Target |
|---|---|
| @ | 216.239.32.21 |
| @ | 216.239.34.21 |
| @ | 216.239.36.21 |
| @ | 216.239.38.21 |
Step 5: Wait for DNS Propagation
DNS changes can take up to 48 hours to propagate, although they typically happen much faster. During this time, your custom domain might not immediately work.
Step 6: Finalize the Setup in Blogger
Once DNS propagation is complete:
- Return to your Blogger settings.
- Click Save again next to your custom domain.
If everything is set up correctly, your custom domain should now be working with your Blogger site. Ensure that the Redirect Domain option is enabled so that your site works.
Additional Tips for a Smooth Transition
- Set Up HTTPS: Ensure that your site is secure by enabling HTTPS. In your Blogger settings, go to Settings > HTTPS > HTTPS Availability and toggle it to Yes.
- Update Links: Update any internal links or references to your old Blogspot URL.
Conclusion
Adding a custom domain to your Blogger site is a straightforward process that brings significant benefits. By following these steps, you’ll enhance your blog’s professionalism, SEO, and overall brand presence. If you encounter any issues, don’t hesitate to reach out to your domain registrar’s support team for assistance.

