Welcome to Bytes Vibe. When it comes to enhancing our Blogger website’s user experience and design, everything matters. Even small elements like numbered lists can make a big difference. Many of us want to customize the CSS of numbered list in blogger?
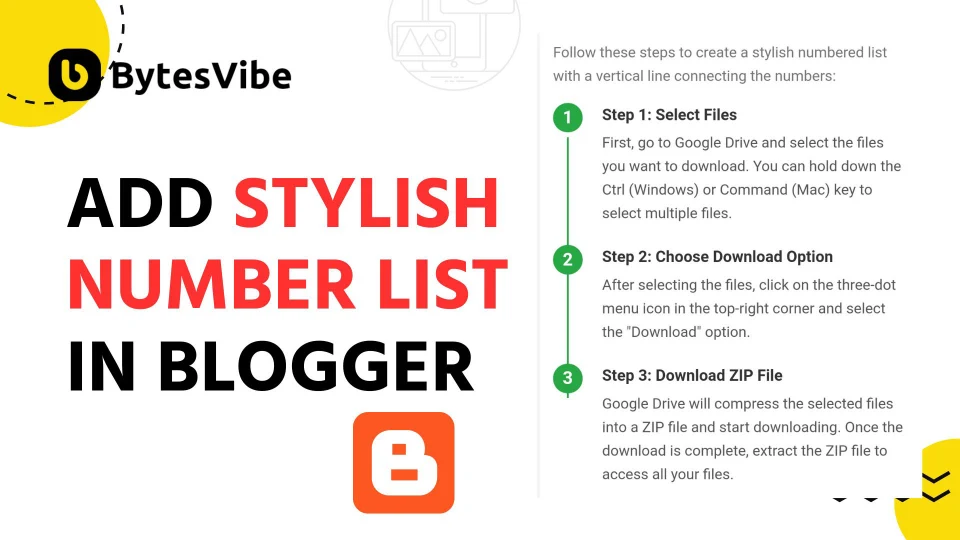
In this tutorial, we’ll explore how to create stylish numbered list in blogger with a vertical line connecting the numbers. This design can make blogger sites content look more organized and professional.

In our previous post, we learned how to create a beautiful guide list or tree list for blogger. Check this out!
Why Use a Stylish Numbered List?
Numbered lists are a powerful tool for organizing content in a clear manner. They help break down information into digestible steps which makes it easier for readers to follow along. However, a standard numbered list can often appear plain and uninteresting. By adding a stylish numbered list in blogger with vertical lines we can draws attention to important content. This will make sure that your readers don’t miss crucial information.
How to add Stylish Numbered List in Blogger
Step-by-Step Guide: How to add Stylish Numbering List Style in Blogger
Now let’s see how we can add custom stylish ordered numbers list in our blogger site. We’ll be using custom HTML and CSS to get this stylish effect. But make sure to take backup of blogger theme before making any changes to blogger theme. To Create Stylish Numbered List in Blogger follow these steps:
Step 1: Access Blogger HTML Editor
- Log in to Blogger account. Go to Theme section and click on Customize.
- Click on Advanced and then scroll down to select Add CSS. And here in this box we will add our css.
Step 2: Add the CSS Code
To create the stylish numbered list in blogger, we need to add the following CSS code to Blogger theme:
/* CSS Styling */
.bytesvibe {
    list-style-type: none;
    padding-left: 0;
    counter-reset: list-counter;
}

.bytesvibe li {
    display: flex;
    align-items: flex-start;
    margin-bottom: 20px;
    position: relative;
    padding-left: 40px; /* Adjust spacing between number and content */
}

.bytesvibe li::before {
    content: counter(list-counter);
    counter-increment: list-counter;
    background-color: #28a745;
    color: #fff;
    border-radius: 50%;
    width: 30px;
    height: 30px;
    display: flex;
    align-items: center;
    justify-content: center;
    font-weight: bold;
    font-size: 18px;
    position: absolute;
    left: 0;
    top: 0;
    z-index: 1;
}

.bytesvibe li::after {
    content: '';
    position: absolute;
    left: 14px;
    top: 35px;
    width: 2px;
    height: calc(100% + 20px);
    background-color: #28a745;
    z-index: 0;
}

/* Remove the vertical line after the last item */
.bytesvibe li:last-child::after {
    display: none;
}

.list-content {
    margin-left: 10px;
}

.list-content h3 {
    margin: 0;
    font-size: 16px;
    color: #333;
}

.list-content p {
    margin: 5px 0 0;
    color: #555;
}Code language: CSS (css)
Now save this change by clicking on save icon.
Step 3: Add the HTML Code
Now that we have added css for stylish number list in blogger we just need to add html in our blogger post. Use the following HTML structure wherever you want to display the stylish numbered list:
<ol class="bytesvibe">
    <li>
        <div class="list-content">
            <h3>Step 1: Select Files</h3>
            <p>Lorem ipsum dolor sit amet, consectetur adipiscing elit, sed do eiusmod tempor incididunt ut labore et dolore magna aliqua.</p>
        </div>
    </li>
    <li>
        <div class="list-content">
            <h3>Step 2: Choose Download Option</h3>
            <p>Lorem ipsum dolor sit amet, consectetur adipiscing elit, sed do eiusmod tempor incididunt ut labore et dolore magna aliqua.</p>
        </div>
    </li>
    <li>
        <div class="list-content">
            <h3>Step 3: Download ZIP File</h3>
            <p>Lorem ipsum dolor sit amet, consectetur adipiscing elit, sed do eiusmod tempor incididunt ut labore et dolore magna aliqua.</p>
        </div>
    </li>
</ol>Code language: HTML, XML (xml)
In blogger posts, if the post format is in Compose view than we need to change it in HTML VIEW by clicking the pen icon.
Step 4: Save blogger posts
After we’ve added the CSS to our theme and inserted the HTML into blog post or page, save all the changes. Preview blog post to see if the stylish numbered list is working. If everything is correct, we should see a beautiful numbered list with vertical lines connecting the numbers.
Add an Additional Line
If you want to add another list item with the same stylish effect, we can copy this line and paste it above </ol> for it to work:
<li>
    <div class="list-content">
        <h3>Step 4: Organize Your Files</h3>
        <p>Lorem ipsum dolor sit amet, consectetur adipiscing elit, sed do eiusmod tempor incididunt ut labore et dolore magna aliqua.</p>
    </div>
</li>
Code language: HTML, XML (xml)
So this is how we can another stylish list.
Creating a stylish numbered list with vertical lines in Blogger is a simple yet effective way to enhance the visual appeal and readability of blogger content. By following the steps outlined in this Bytes Vibe tutorial, we can easily add this beautiful design on our blogger posts. If we are writing tutorials, how-to guides, or any content that need to be organized in lists than this stylish numbered list will do the work just fine.
FAQs
-
Can I change the colors used in the list?
Yes, we can customize the colors by modifying the
background-colorandcolorproperties in the CSS. For example, change#28a745to any color code. -
Is it possible to adjust the spacing between the numbers and the text?
Yes, we can adjust the spacing by modifying the
padding-leftproperty in the.bytesvibe liCSS rule.
Hoped this helped. If you need any help just comment them down below. Bytes Vibe will help with anything related to blogger.


